Easy Sourdough Bagels Recipe | In Your Stand Mixer
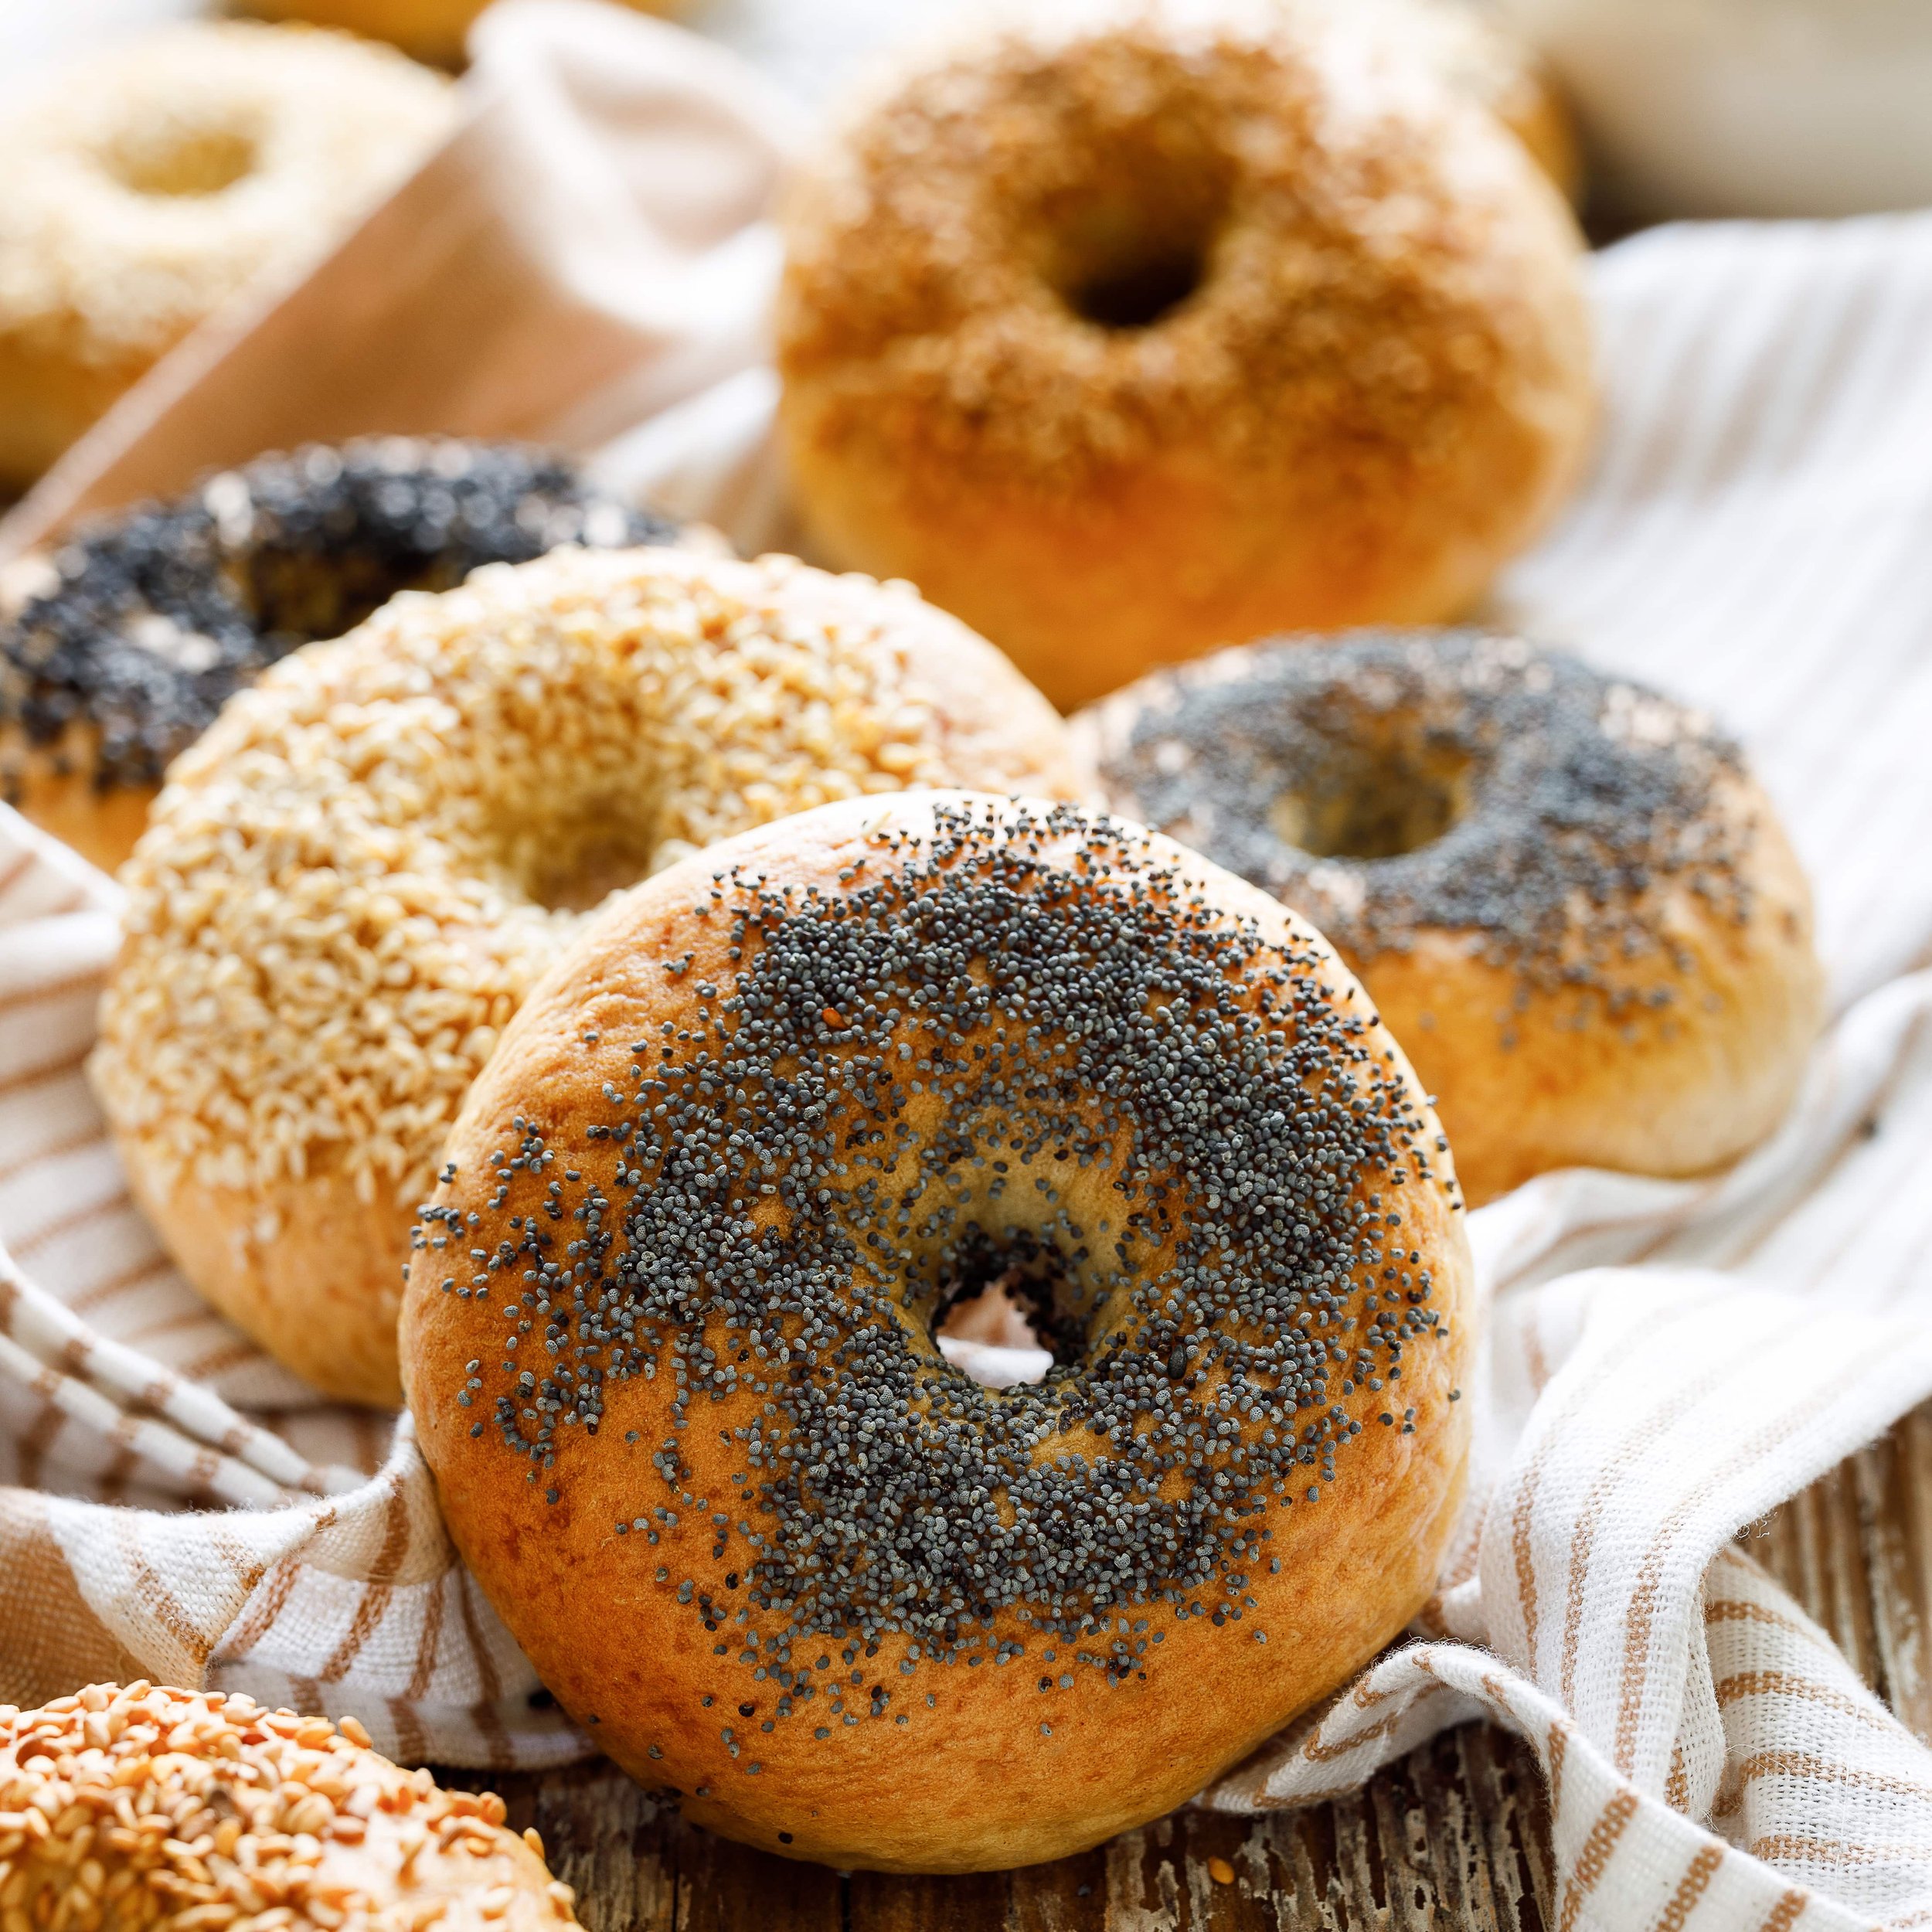
Have you ever craved a sourdough bagel that is chewy on the outside and soft on the inside but didn't want to spend hours in the kitchen making it? If so, then you're in luck because I have a recipe for Easy Sourdough Bagels that can be made in just ten minutes using a stand mixer. These bagels are not only easy to make but also loved by families all over. So, roll up your sleeves, preheat your oven, and let's get started on making the perfect sourdough bagels!
Bagels have a rich history that dates back to the early 17th century in Poland. It is believed that the first bagels were created as a tribute to King Jan III Sobieski for his victory over the Ottoman Turks in the Battle of Vienna in 1683. Over the years, the popularity of bagels grew, and many Jewish immigrants brought their bagel-making skills to the United States in the late 19th and early 20th centuries. Today, bagels are a staple breakfast food and are enjoyed by people all over the world. Whether you prefer them plain, toasted, or topped with your favorite spreads, bagels continue to be a beloved part of many cultures and cuisines.
Here’s Why You’ll Love This Recipe
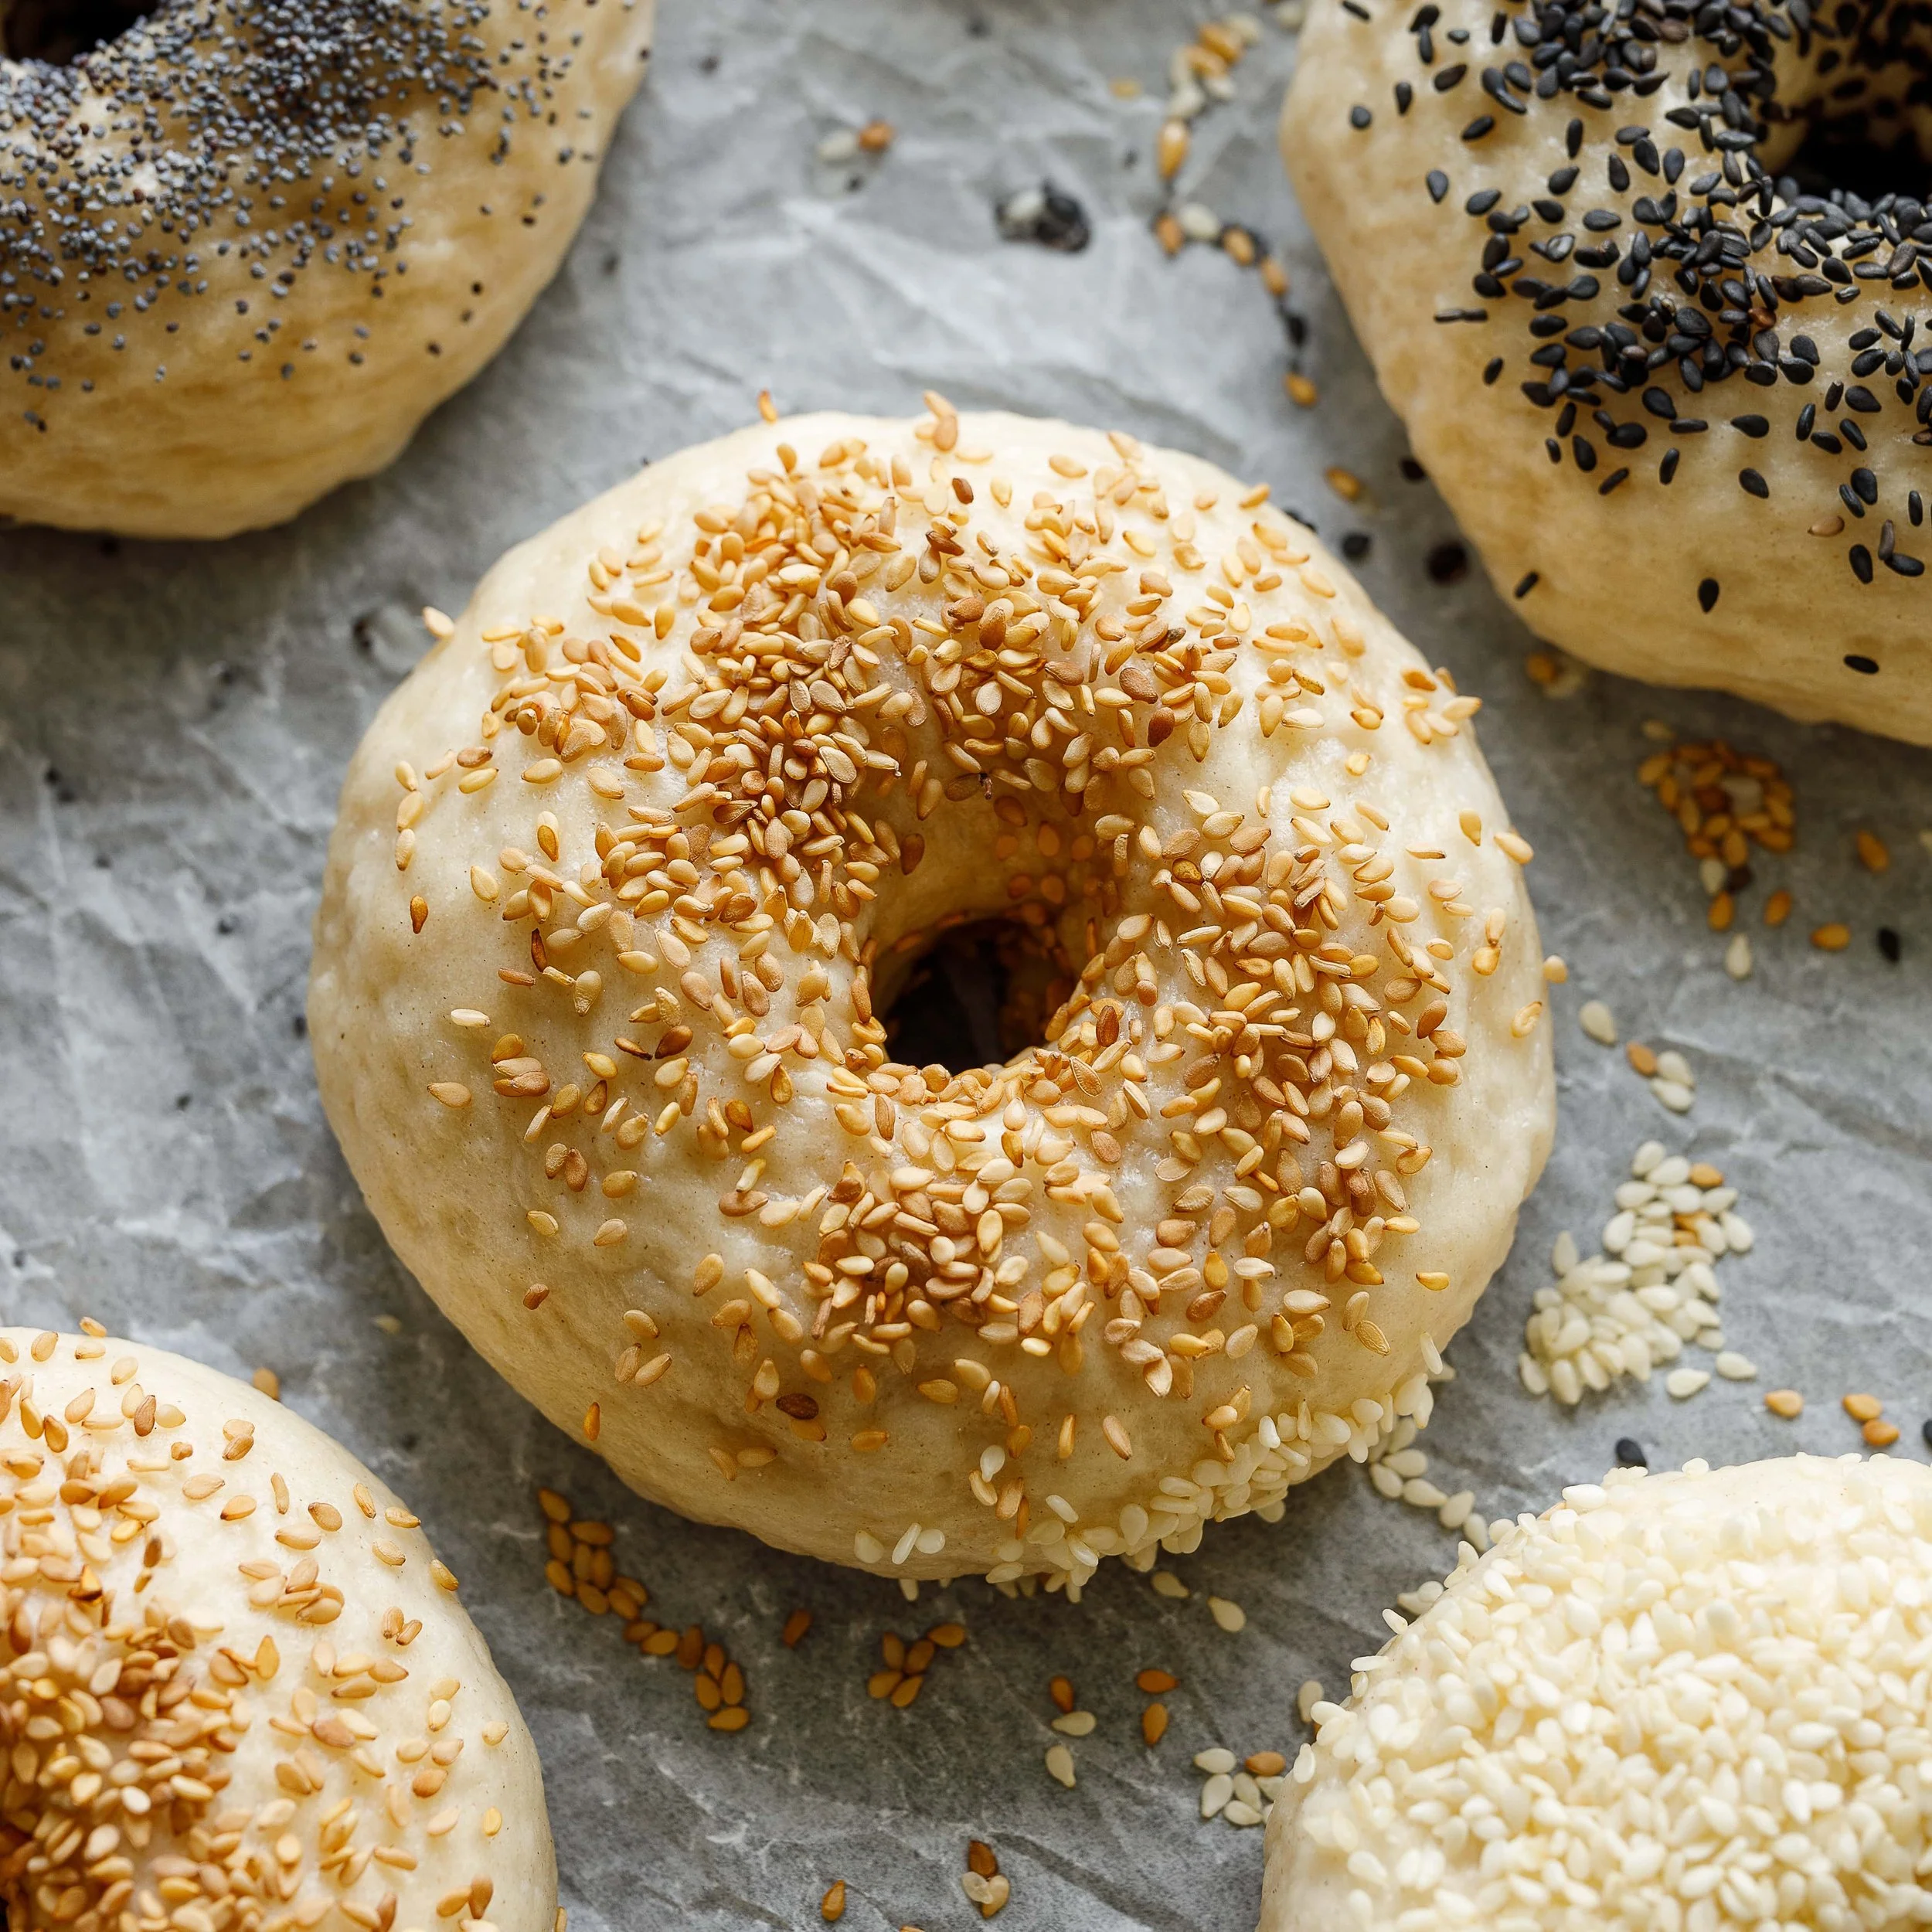
These bagels have a classic chewy exterior and a soft and fluffy interior.
They are easy to make! All you need is ten minutes in your stand mixer.
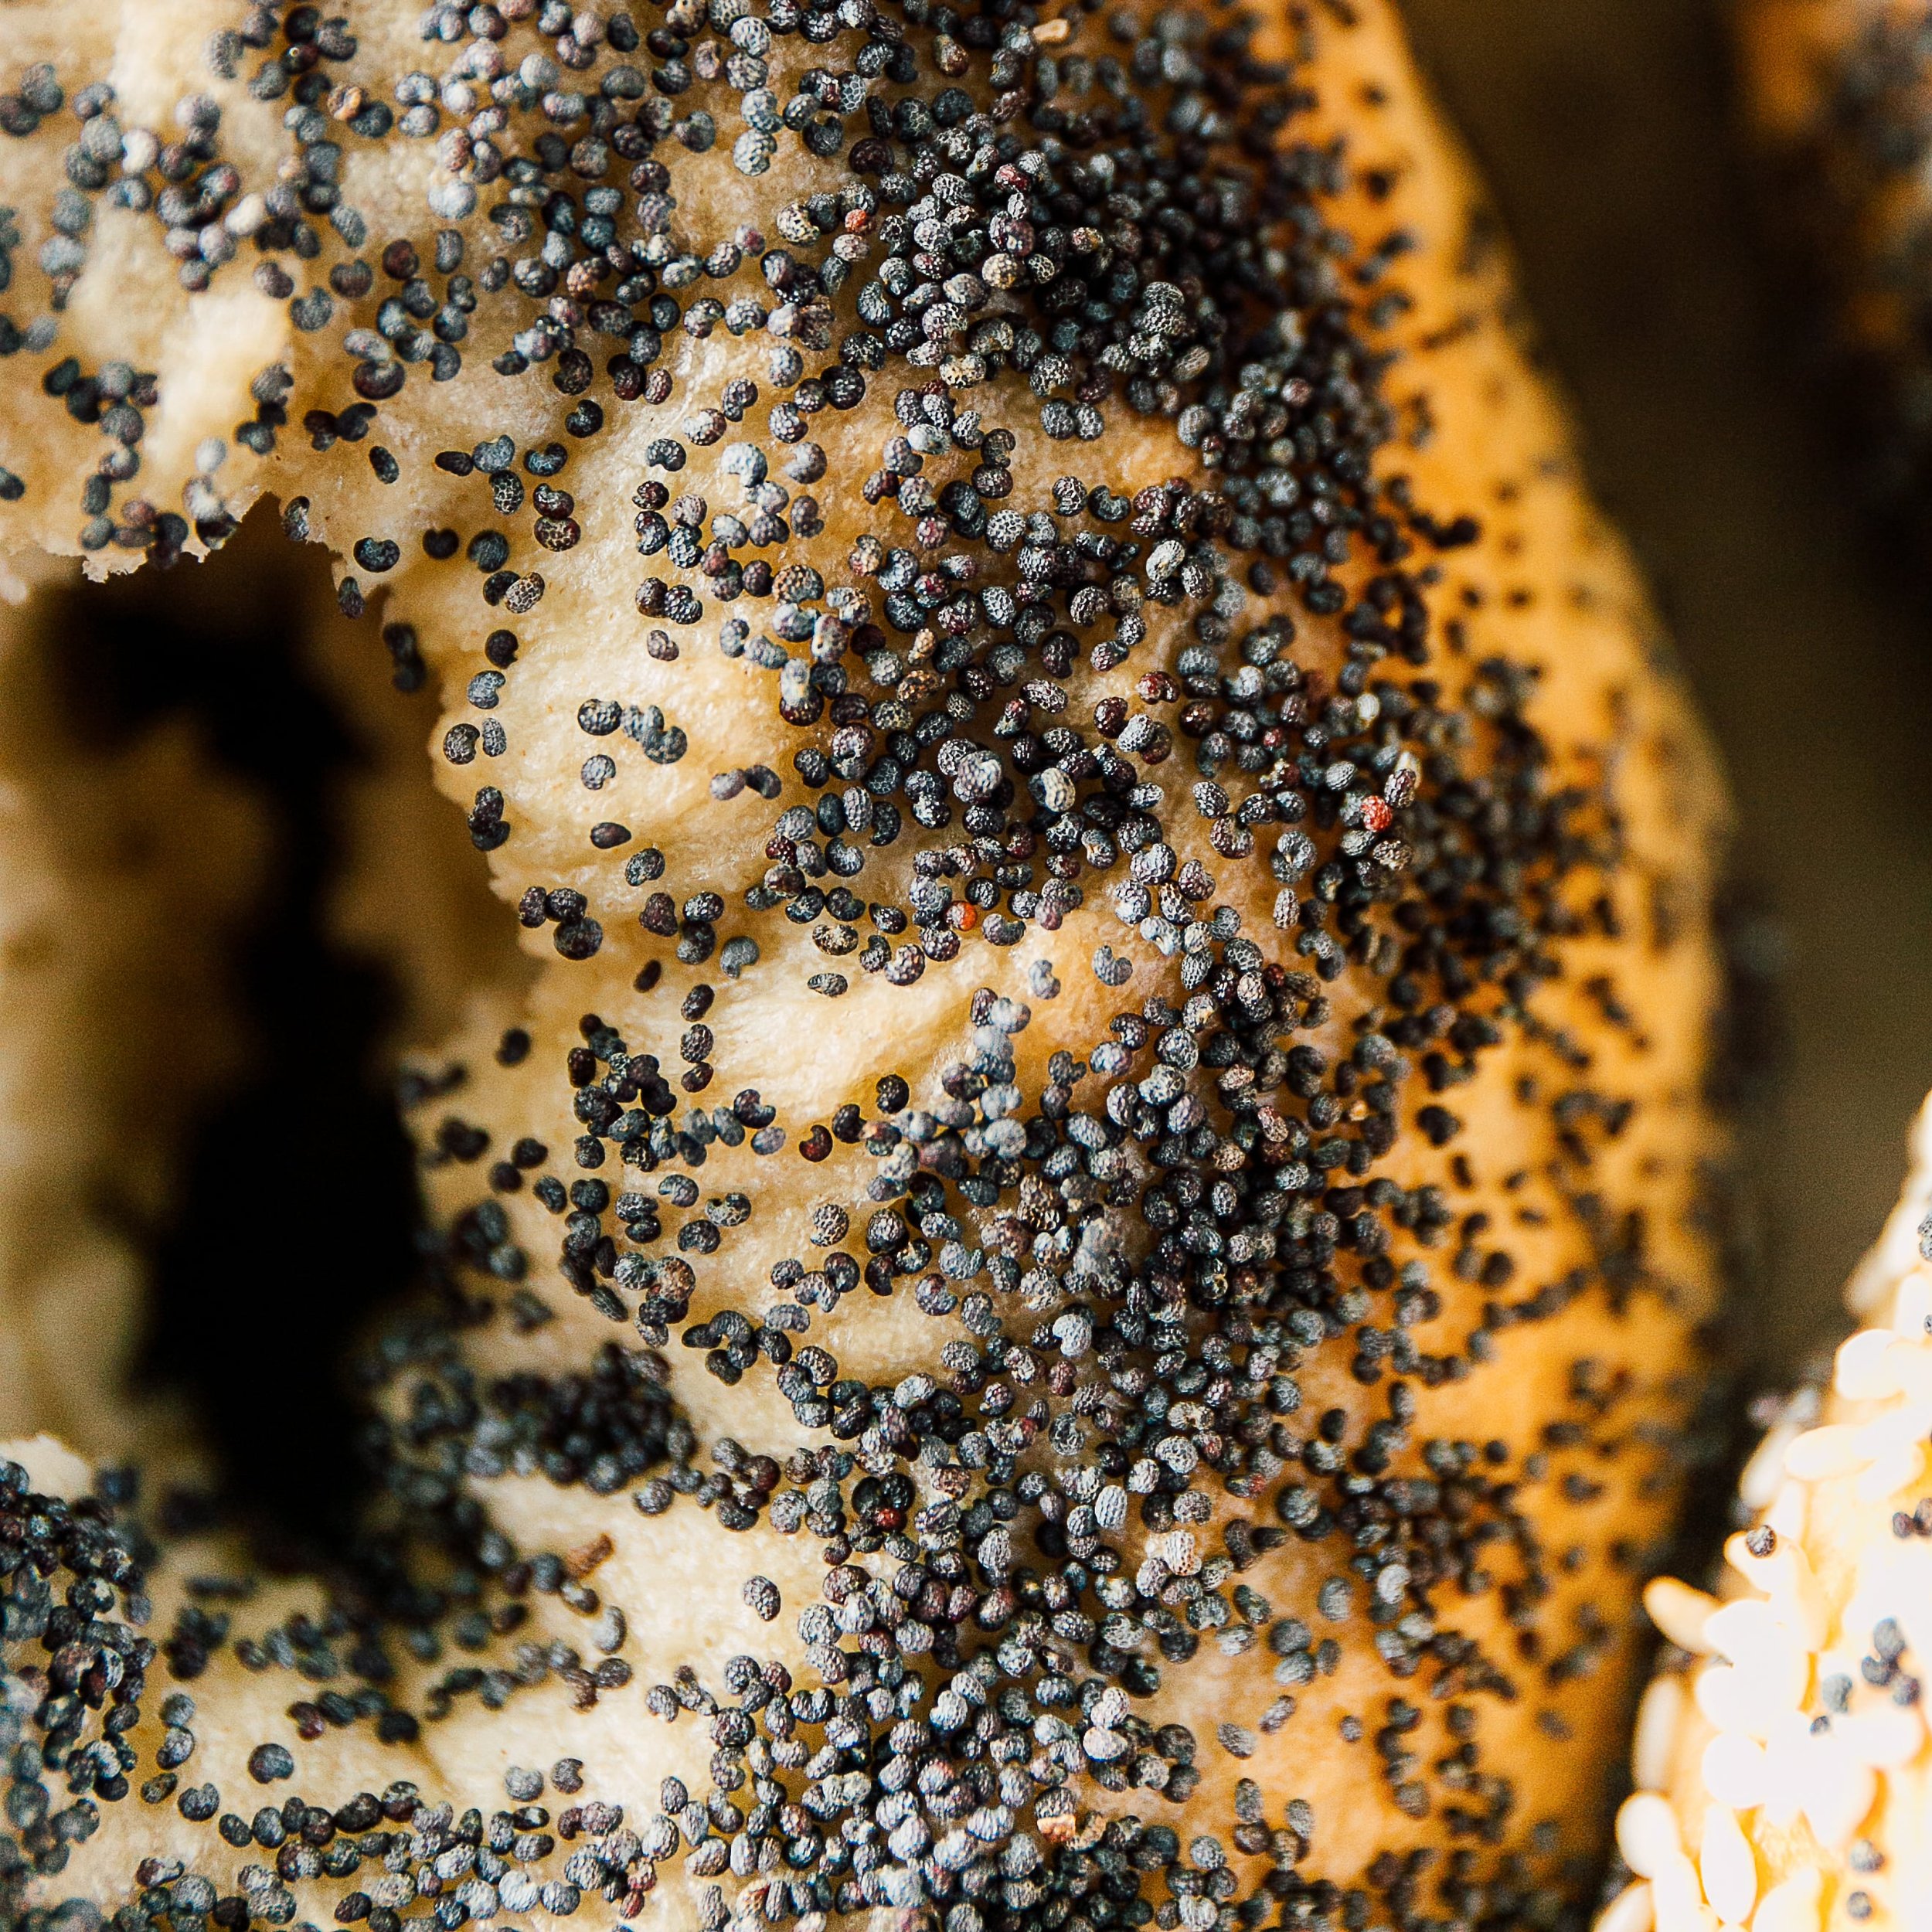
You can have fun and add toppings to the bagels you like, like cinnamon sugar!

Easy Sourdough Bagels Recipe | Make Family Friendly Bagels in Your Stand Mixer
Ingredients
Instructions
- Begin by prepping your levain the night before making your dough. This is standard for all of my recipes and yields great bread.
- Mix your Lievito Madre or other types of sourdough starter, like a 100% hydration starter, with the water and flour until a dough forms.
- Place the levain into a container with a tight lid.
- Leave it overnight to proof until it is doubled or tripled. This may take longer in winter, so if it still looks sluggish in the morning, you can pop it in the oven with a light on for about an hour or so or until it has changed in volume before adding it to your dough.
- Choose either option one or option two below before beginning your dough.
- Place all the levain and dough ingredients directly into the bowl of your stand mixer.
- Turn your mixer on a low speed to move the dough, then increase the speed slightly. Let your dough knead in your mixer with the dough hook for precisely ten minutes or until the dough goes from scraggly to sticky to smooth. This reel of mine (click here) shows the changes the dough goes through about halfway through the video.
- After ten minutes, remove your dough from the stand mixer using damp hands and place it into a straight-sided container with a tight lid.
- Let your dough rest in the container in a warm spot until it has doubled in size. If you find it helpful to compare and know when your dough has finished bulk fermenting (also known as bulk proofing), you can take a before photo.
- Once your dough has doubled, lightly flour the top of it inside your container and tip it out onto a clean countertop.
- Roll the dough into a tight boule and let it rest on your countertop with a tea towel, covering it for 15 minutes.
- After 15 minutes, divide the dough into eight even balls and roll them up neatly before letting them rest on a baking sheet covered with cling film so they don't dry out. Let them rest for 30 minutes to an hour until they look puffier.
- Once puffy, take each dough ball and carefully make a hole in the center with one finger so as not to disrupt the air inside the dough.
- Stretch each hole until it is about 1 inch wide, then place the shaped bagels back onto a baking sheet covered with cling film so they do not dry out. Let them rest again for 15 to 30 minutes while you prepare the water bath and preheat your oven.
- Water Bath:
- Place around 6 cups of water into a large pot and add two tablespoons of molasses. I eyeballed the molasses!
- Let it come to a boil, and then dip each bagel into the molasses water for no more than 30 seconds on each side. If you have ever made bagels that turn out so hard after baking, it is due to soaking them in the water bath for too long. Remember, the longer they are in the water bath, the thicker the crust will be, making them hard once baked.
- Place the boiled bagels back onto the baking sheet and top them with optional toppings. You can make an egg wash to adhere to the toppings better or add them directly onto the damp dough.
- Baking time: Set your oven to 425°F, and make sure you have one rack set on the lower portion of your oven with a baking sheet on it and the rack you will place your bagels on in the middle of your oven.
- When your oven has come to temperature, place your bagels on the sheet tray onto the middle rack of the oven and toss two handfuls of ice on the lower rack where you have the preheated sheet tray; be careful not to let the ice fall on the oven door as you do so. Alternatively, you can place the ice on the tray as the oven is warming up. Sometimes, I skip or forget to add ice, and my breads still turn out the same! It's all about finding out what works best for you and your oven. Sourdough doesn't have to be complicated to be great!
- Close the oven door and let your bagels bake for 25 to 30 minutes.
- Let your bread rest covered until thoroughly cooled before enjoying to allow the crumb to set fully, if possible! These are great warm and dunked into cream cheese, though. I am just saying!
Notes
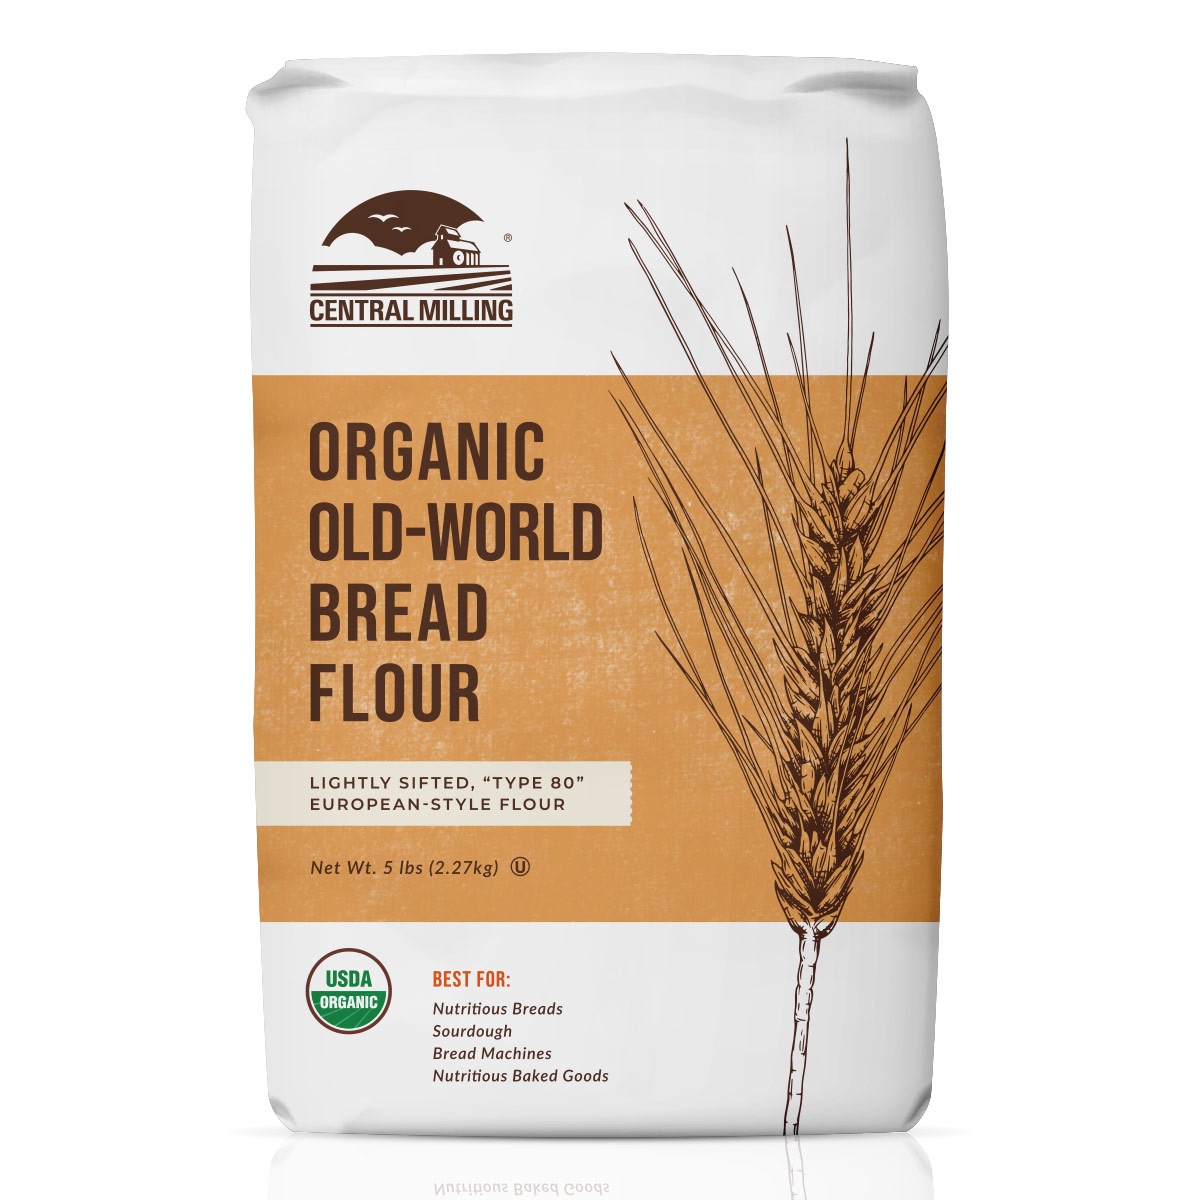
Bread Flour: Different bread flour types have varying water absorption capacities, meaning some flours may require more or less water than the recipe states. Knowing your flour's characteristics and adjusting the water content accordingly is essential to achieve the desired dough consistency.
Size and Shape: You can shape this sourdough into a boule or battard. You can even make smaller mini loaves for a fun twist!
Nutrition Facts
Calories
361.34Fat
1.7 gSat. Fat
0.28 gCarbs
76.92 gFiber
4.32 gNet carbs
72.61 gSugar
11.45 gProtein
10.84 gSodium
519.36 mgCholesterol
0 mgPlease note that the nutritional information on this website is calculated using online tools and may need to be more accurate. Use it as a rough guide only. We cannot be held responsible for any loss or damage caused by relying solely on this data. You are responsible for ensuring that any nutritional information you use is accurate and useful. For more information, click here.

Explore Trending Recipes

Indulge in a delicious and easy-to-make viral custard soufflé pots recipe that's perfect for any occasion. Customize with your favorite toppings!