The Most Authentic Italian Sourdough Starter Recipe | Learn How To Make Lievito Madre
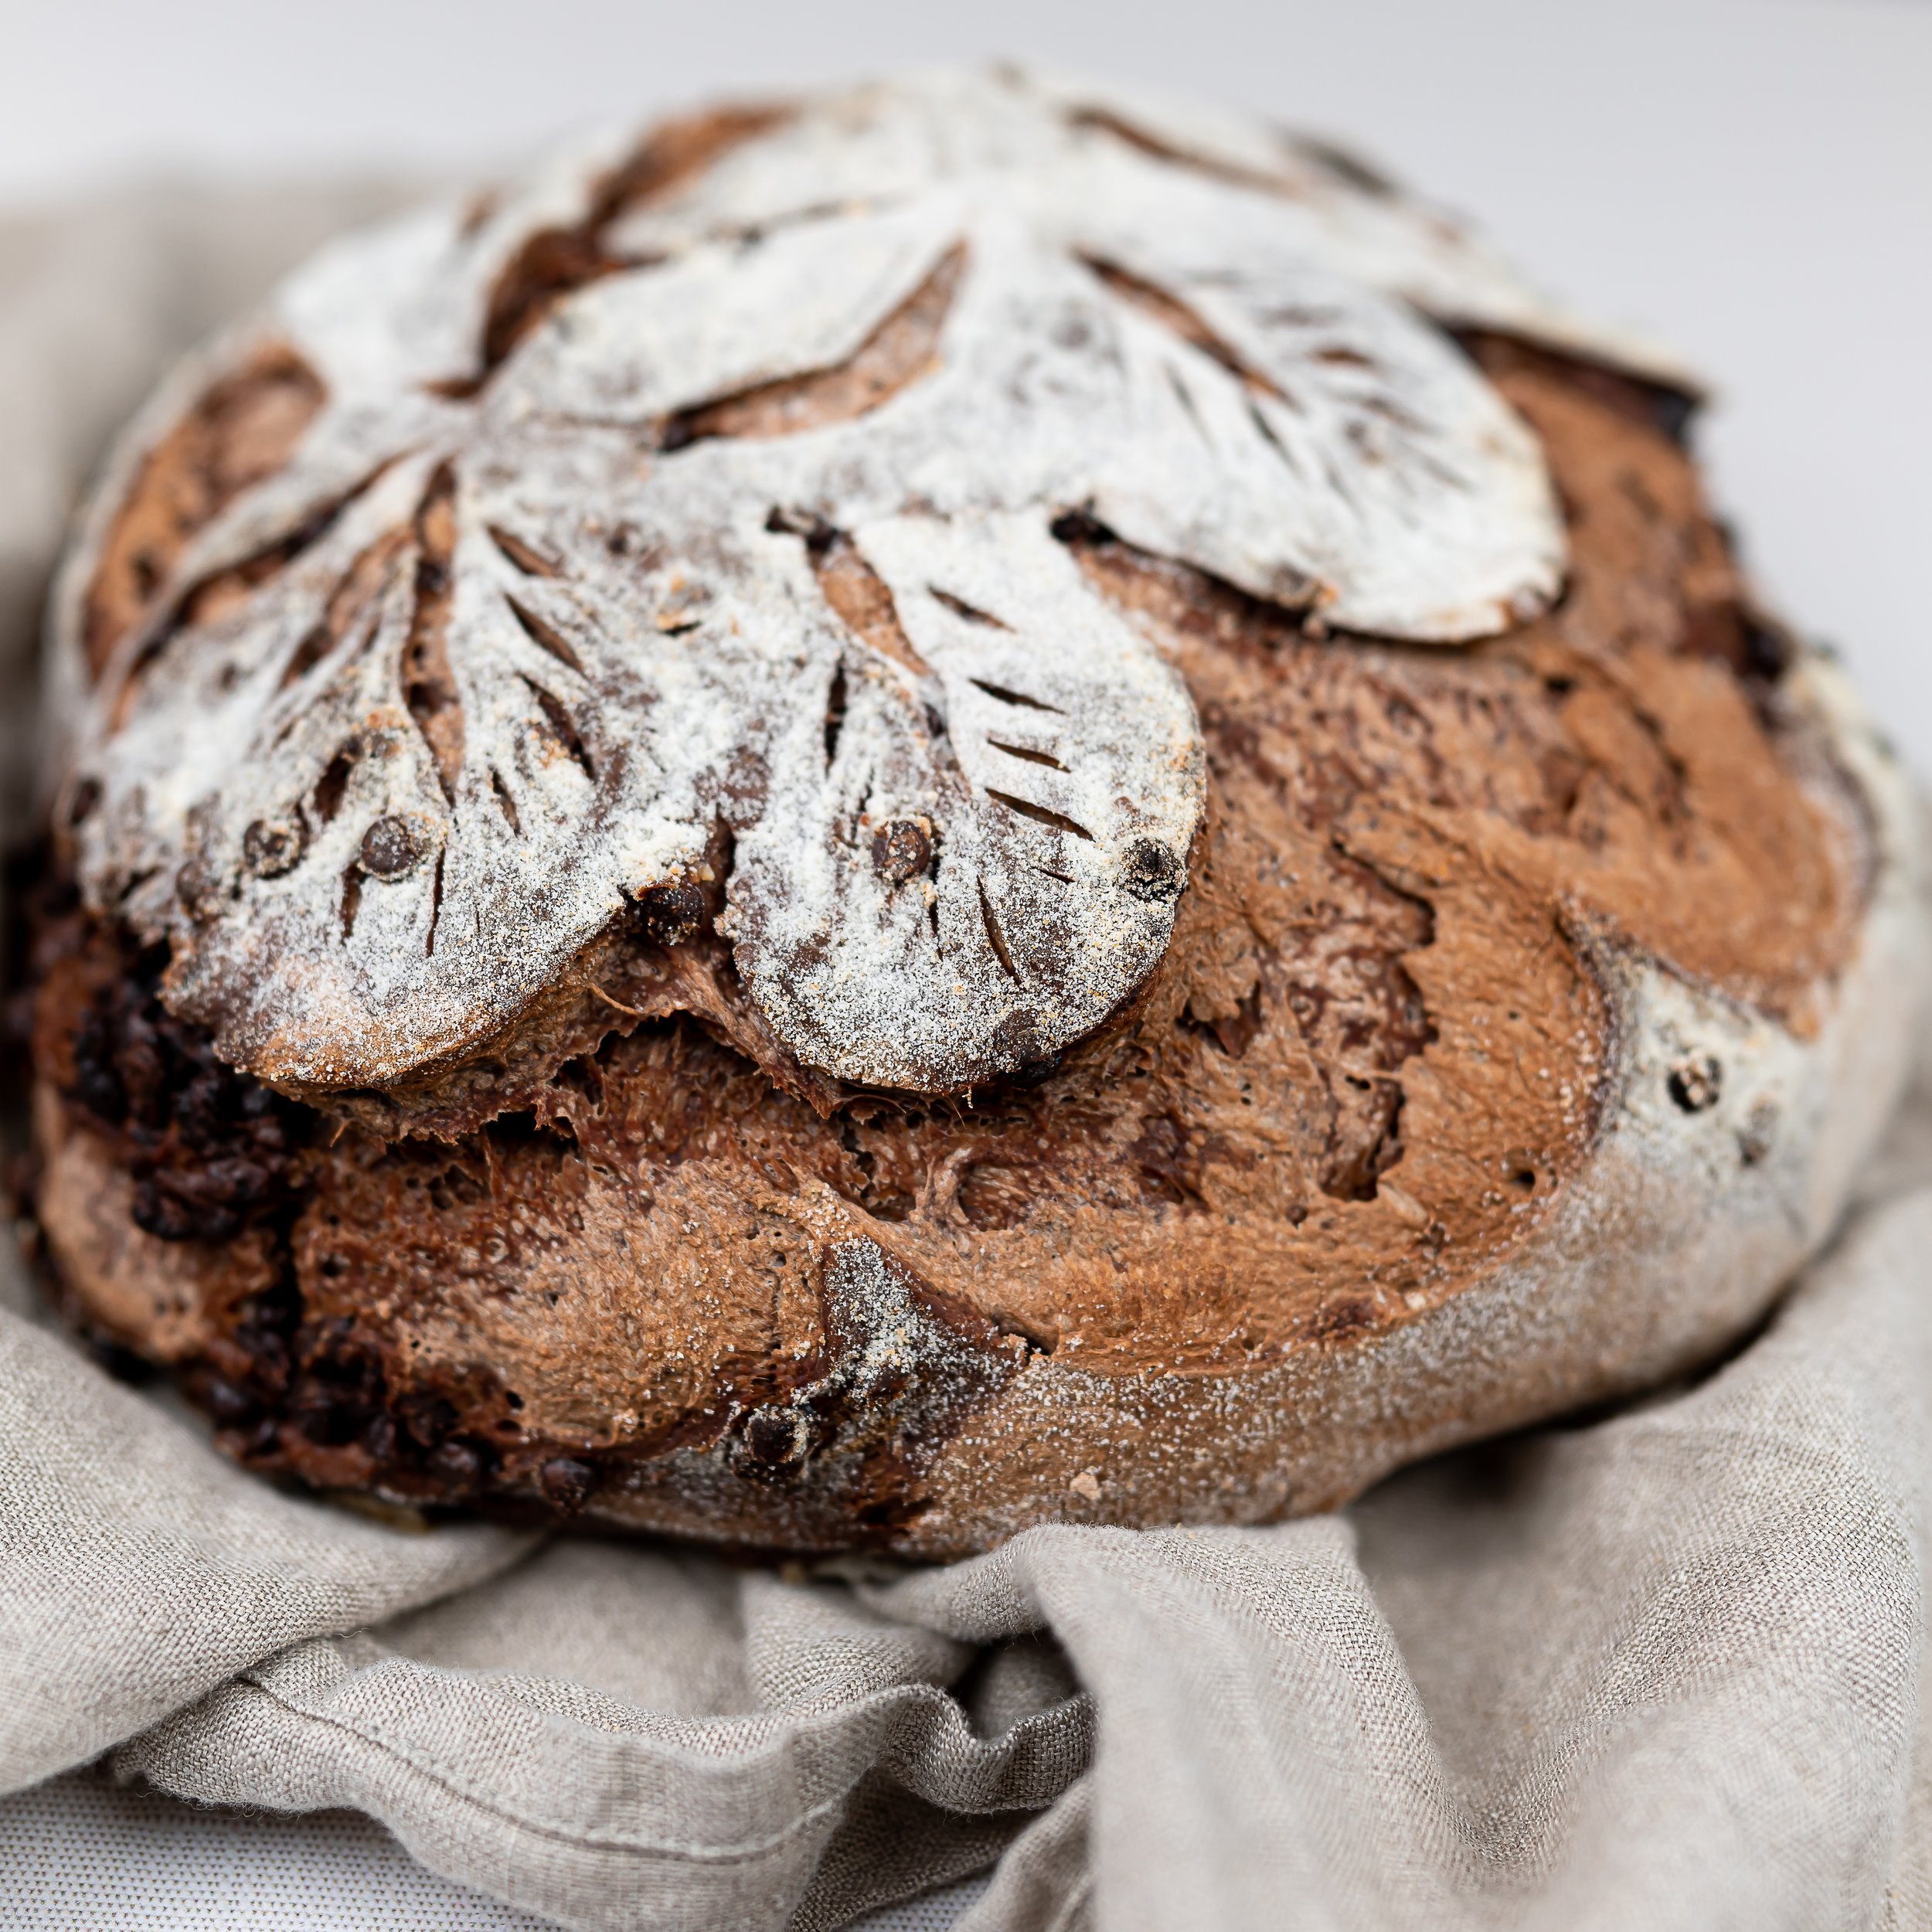
Have you ever heard of a stiff sourdough starter? It's an Italian specialty known as Lievito Madre, and I'm here to tell you that making it from scratch is life-changing. From my own personal experience, I can confidently say there's no greater satisfaction than kneading the dough and watching it transform into the perfect leavened bread. If you've been on the hunt for an out-of-this-world sourdough starter recipe, then your search ends here! In this blog post, I'll take you through each step of creating a stiff sourdough starter so that you, too, can have a hand in producing some genuinely fantastic bread!

The history of stiff sourdough starters is a story of patience, experimentation, and success. Making a stiff sourdough starter at home is rewarding due to the positive results in terms of flavor and texture and because it gives bakers a deeper understanding and appreciation for traditional bread-baking techniques that have been around for hundreds of years. Although the process may seem daunting to some, the end result will be an amazing combination of old-world flavor with the freshness that can only come from homemade sourdough bread. Not only this, but having your own lievito madre or stiff sourdough starter on hand means you will always have fresh bread readily available, as long as you remember to refresh it every once in a while! With that said, why not go ahead and give it a try yourself, I promise you won't regret it!
Here’s Why You’ll Love This Recipe
Sourdough bread has incredible health benefits.
A stiff starter means less wastage and no discard to deal with.
You can get five loaves of bread from this starter with a once-weekly refresh.
It is easy to start, it will not get moldy, and you will be baking delicious bread in no time.

The Most Authentic Italian Sourdough Starter Recipe | Learn How To Make Lievito Madre
Ingredients
Instructions
- Pour boiling water over a clean bowl, fork, and a glass or ceramic 1/2 liter jar, and ensure no soap residue from prior cleaning is on them, and let them sit on a clean towel to air dry.
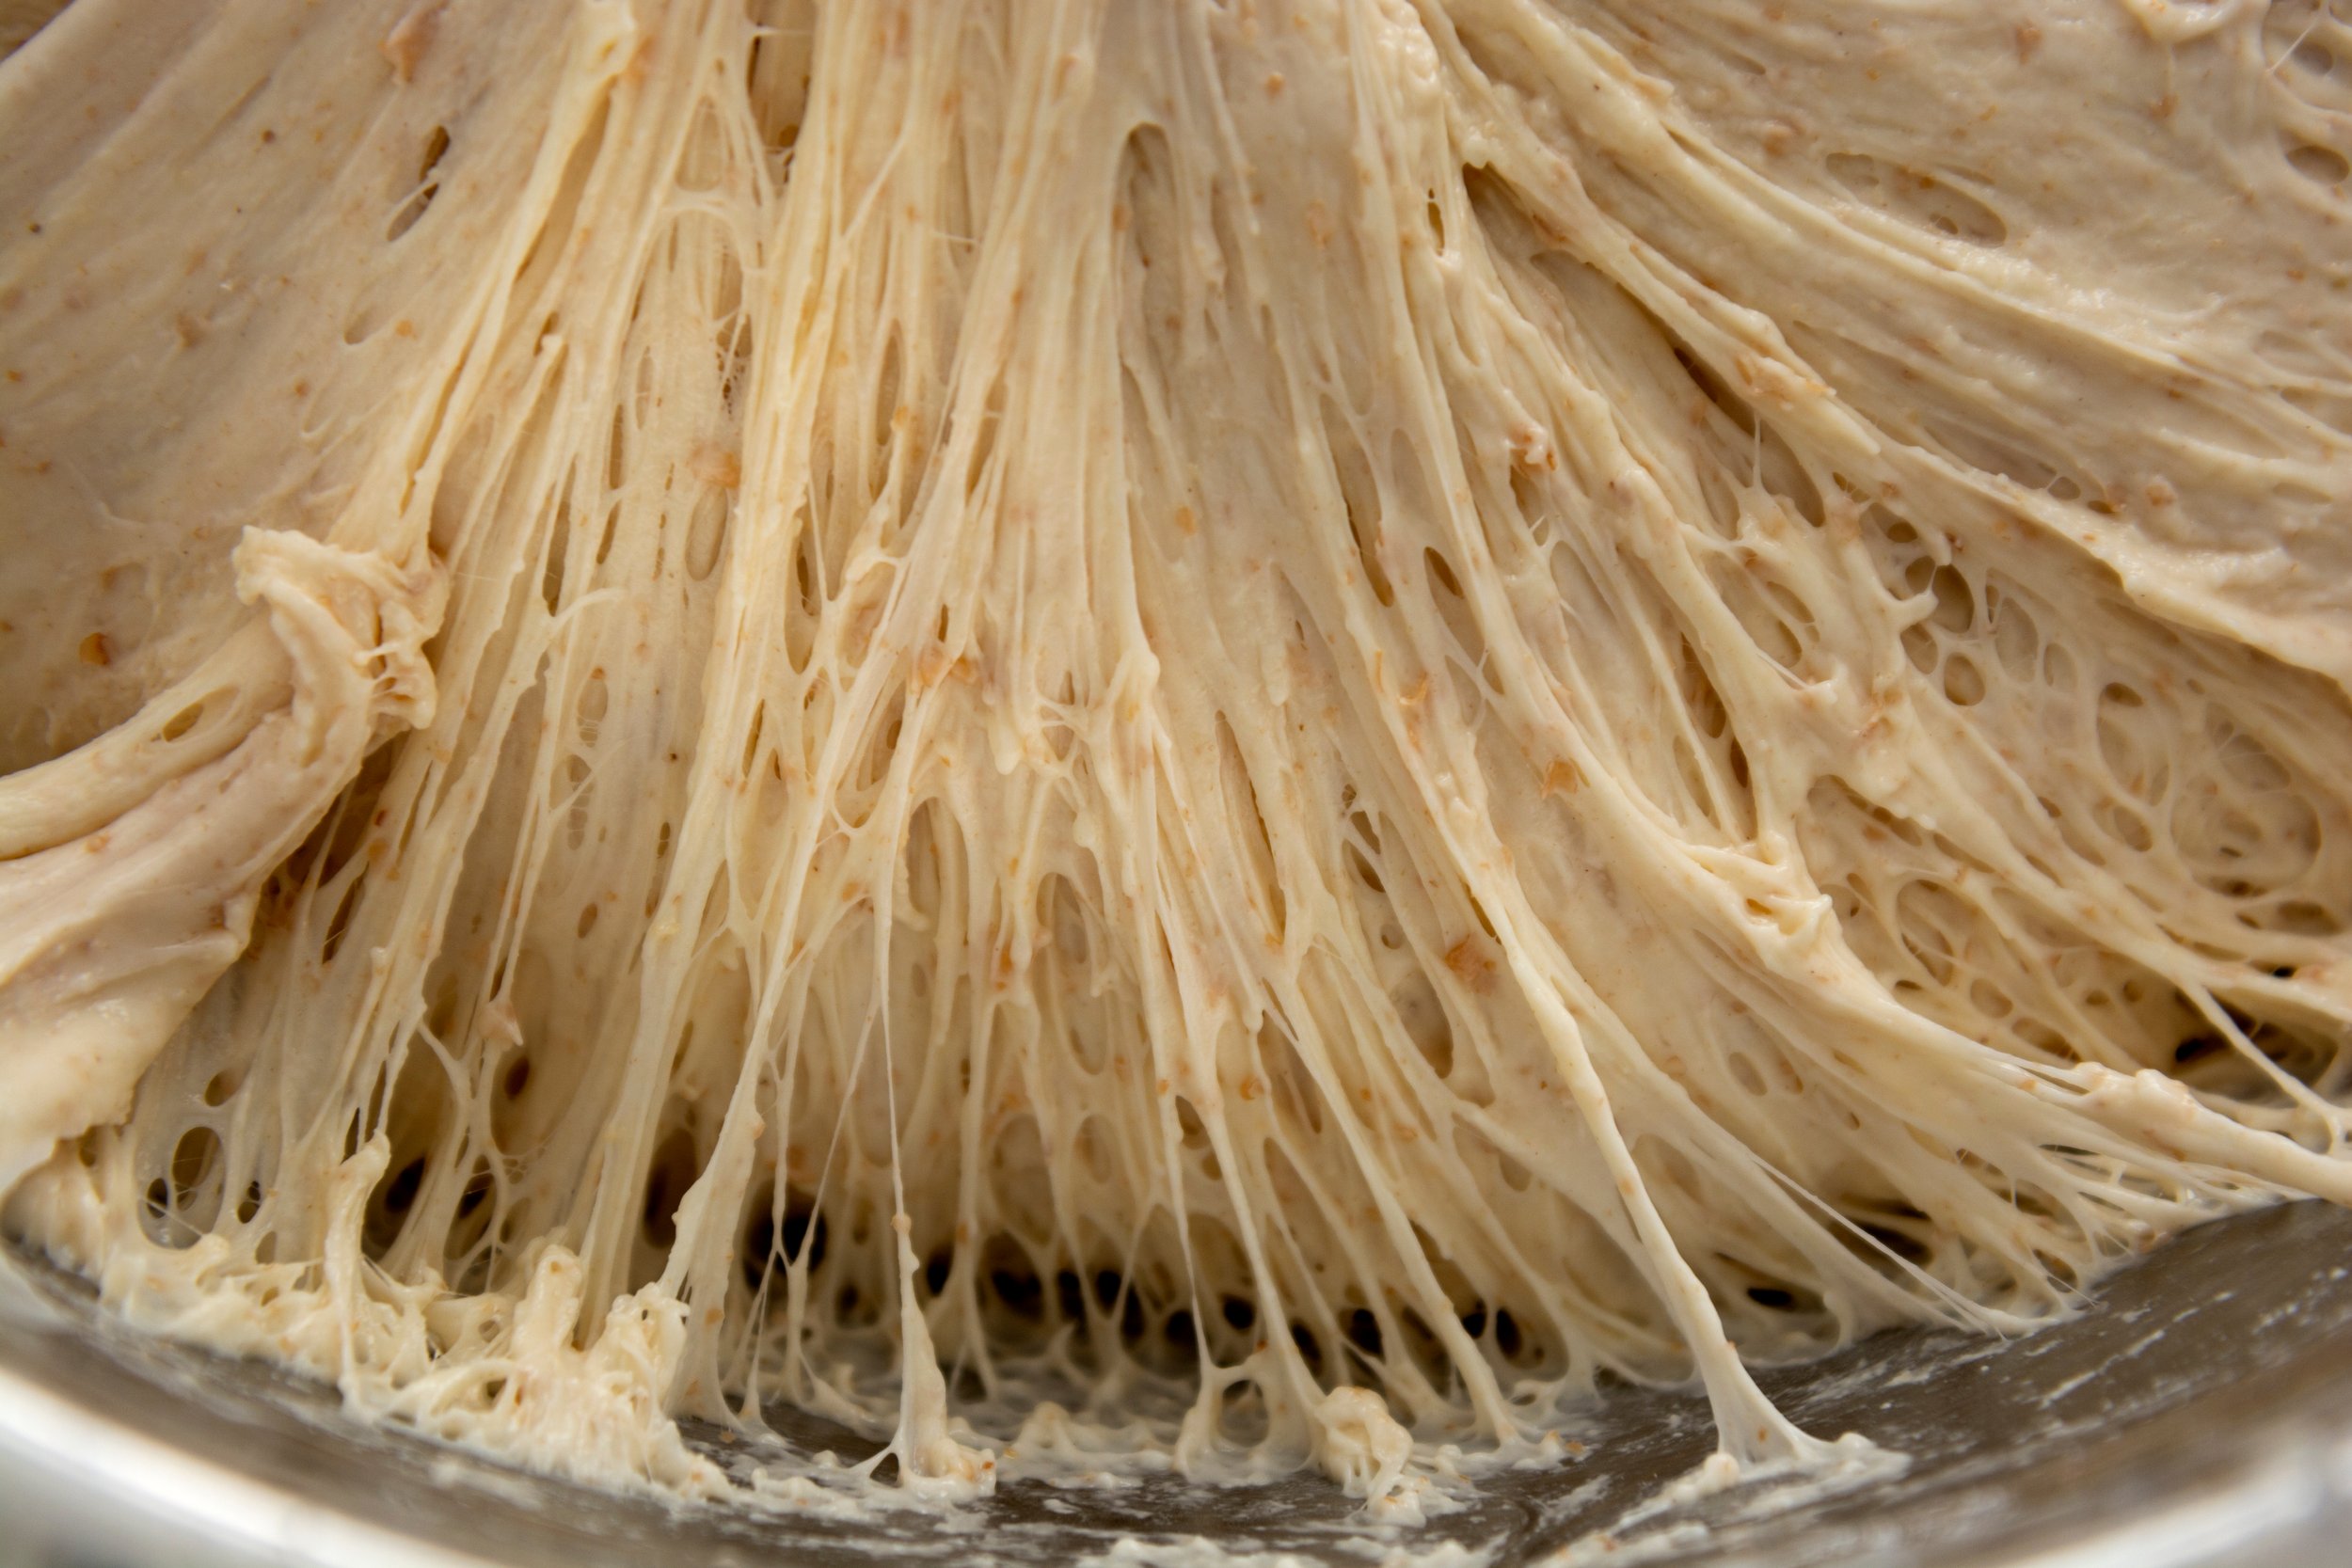
- Place the flour and water into a bowl and mix well with a fork. When it comes together, please pick it up and knead it in the palm of your hands until the flour is well incorporated. Depending on your flour, the dough may be sticky; this is normal and ok. I use all-purpose einkorn flour, and my sourdough starter had a sticky play dough consistency at this stage.
- Place the dough into a clean 1/2 liter jar (glass or ceramic) with a tight lid (yes, a tight lid! This type of starter doesn't like to dry out) and let it sit on the counter for 48 hours before feeding.
- Your starter may look like it has some bubbles and is active today. But, unfortunately, bubbles on days 3 and 4 are usually just the harmful bacteria being eaten away and leaving your sourdough starter.
- Your starter may also have a hooch at this point. This will look either light or very dark grey coloring on the top of your starter. Sometimes hooch can develop in the middle of your starter as well. This is normal.
- This is rare, but it can happen. If you see any furry mold between the hooch layer or anywhere on your jar or lid, throw it all away and start over from Day 1. There is no scooping around the sourdough to save it. Sanitizing everything with boiling water and placing the starter into a new and clean jar each time you feed your starter will prevent mold growth, so always prioritize that as your first step. If you have any questions along the way, you can email me!
- Pour boiling water over a bowl, fork, and a new glass or ceramic 1/2 liter jar. Pour out the water and let them air dry on a clean towel.
- Take a spoon and scoop away as much of the hooch as possible. It is ok if you have a little hooch left in it. It is not harmful.
- Scoop all the starter out into a bowl and mix with 30 milliliters of warm water and 60 grams of flour.
- Knead it in your hands as you did on day one and place it into a clean and dry jar with a tight lid. Let it sit on the counter for 24 hours.
- You may see very little activity in your starter today or none at all. This is normal.
- Please sanitize a bowl, fork, and storage jar for your starter again with boiling water before starting.
- Mix all the starter with 30 milliliters of warm water and 60 grams of flour, and then knead it in your hands until it forms a ball with no more visible flour left.
- Place it into a clean jar with a tight lid and let it sit on the counter for another 24 hours.
- This is technically your first refresh day.
- Day 5 through Day 14 are crucial. These next nine days are when you will strengthen your starter so that on Day 14, it can be used to bake bread, stored in the fridge, and only refreshed once weekly.
- On Day 14, you want your starter to double in size within 6-10 hours. This is your sign that your starter is ready for baking bread with. This happened on day 10 for me, but I kept refreshing until Day 14 before I used her to ensure she was strong enough to leaven my bread. If, on day 14, your starter still has yet to double in size within 6-10 hours, refresh it once every 24 hours until it does. For some of you, this may happen on Day 10, or it may happen on Day 30. You have to keep refreshing once every 24 hours until then.
- Sanitize all equipment and storage jar again like you have been doing on previous days.
- Take 30 grams of your starter and discard the rest. I know it seems wasteful, but this is how this process will go until day 14 or until your starter doubles in size within 6-10 hours of refreshing.
- Mix 30 grams of your starter with 50 milliliters of warm water and 100 grams of flour.
- Knead the dough in your hands until fully incorporated, and then add it into a clean container with a tight lid.
- Keep doing this every 24 hours until day 14, and make sure you clean your equipment with boiling water every day and place your starter into a new and cleaned jar with a tight lid.
- Once your starter starts doubling 6-10 hours after refreshing, it can be stored in the fridge and only refreshed once a week. You will get five loaves of bread a week out of this amount of starter; when you are down to your last 30 grams of starter in your jar, it is time to refresh her.
- To refresh your starter, use the exact measurement of 30 grams of starter, 50 milliliters of warm water, and 100 grams of flour. Let her sit in an airtight jar for 4-6 hours or until she has doubled and domed slightly on the top. It is ok to also leave it out all day on the counter before refrigerating. Store in the fridge for the week. You will keep doing this indefinitely every time you are down to the last 30 grams of starter in your jar.
- Every time you make a levain, use 30 grams of this starter along with however much water and flour you need for the recipe.
- Your starter will live on forever with proper love and care. Follow my steps, and you will be baking great bread soon!
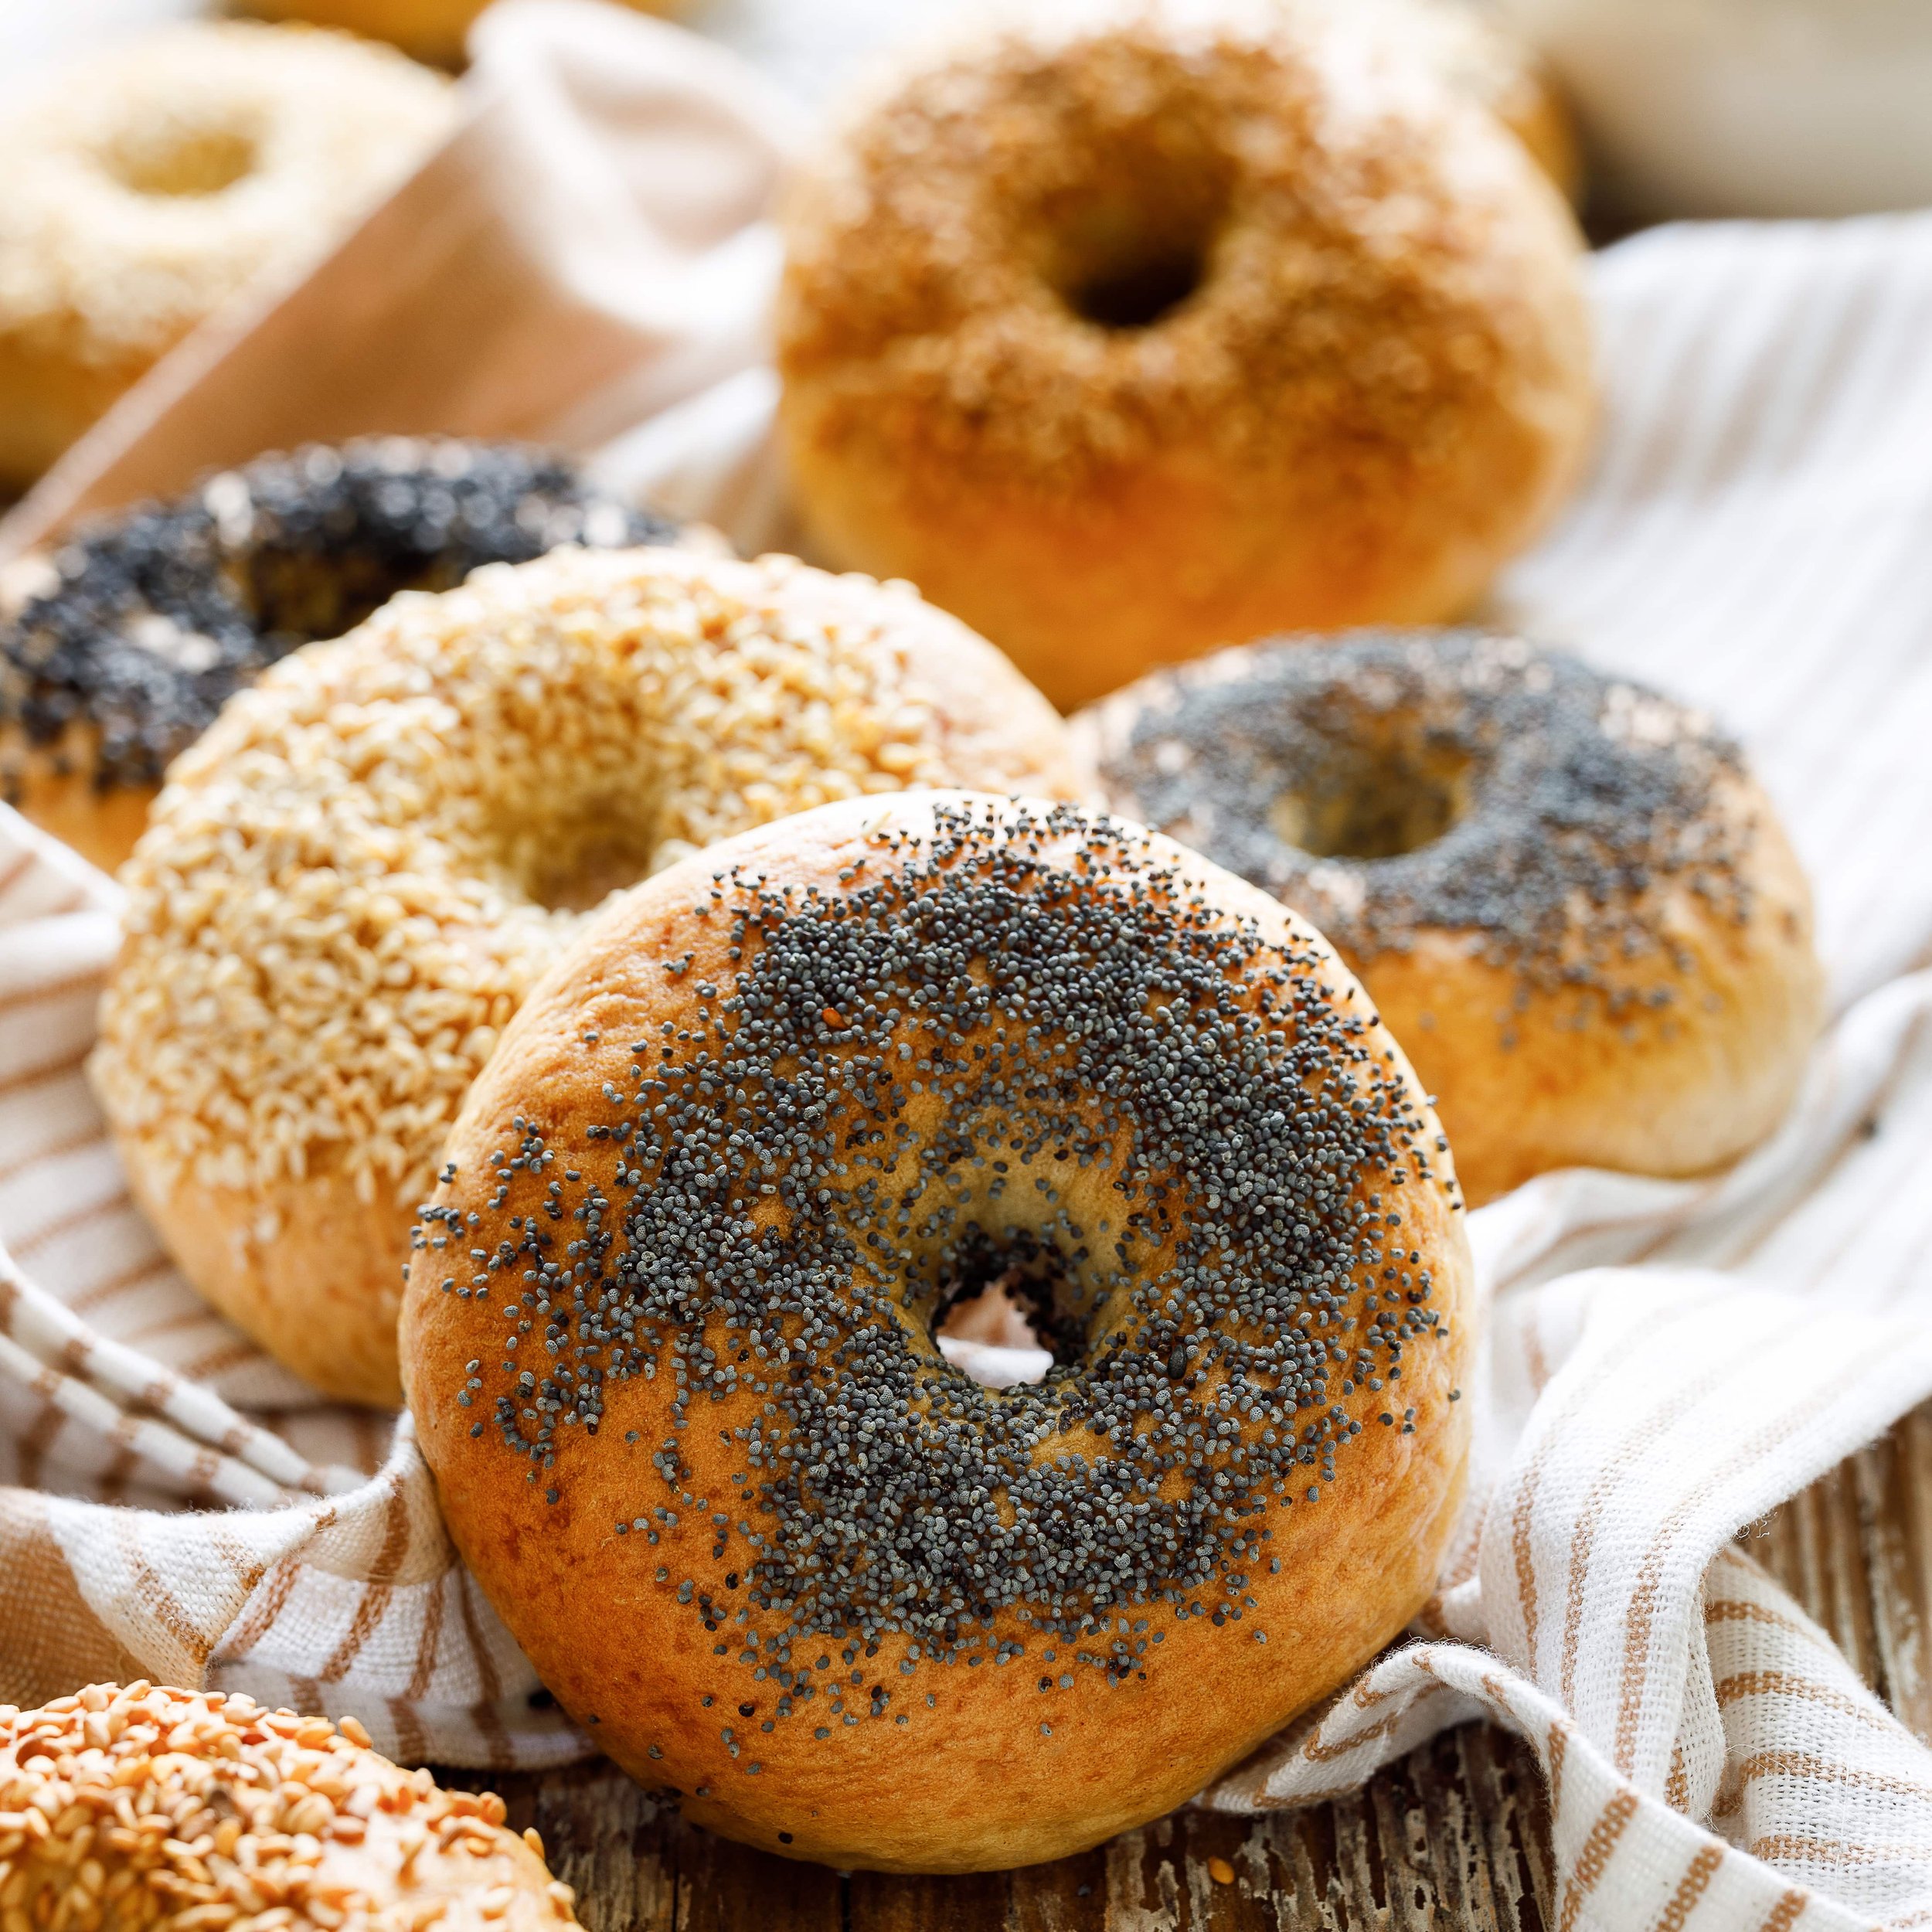
- You probably wonder, "How do I bake bread with my starter?"
- To bake bread with your starter, you must make a levain. A levain is an off-shoot of your starter and essentially a preferment that helps jump-start your starter for when it is added to your bread recipe.
- The levain is typically made 6-8 hours before you want to start making your bread. I like to make my levain early in the morning to have my bread ready that night for a long cold-proof overnight ferment.
- To make a levain take 40 grams of your refrigerated starter and mix it well into 130 milliliters of warm water with a fork. It is ok if there are some lumps. Add 120 grams of flour to the mix and combine well.
- Cover the levain tightly and let it sit overnight on the counter until the surface is covered in bubbles and the levain has doubled in size.
- As your starter matures and gets more robust, depending on the temperature in your home, your levain can ferment much faster, and sometimes it can be ready within 4-6 hours of making.
- Please don't worry if you are not prepared immediately to make your bread when you see those bubbles; it can safely be left out for up to 24 hours, but please try to use it that same day for the best results.
- You will use all the levain in any sourdough recipe that calls for one cup of active sourdough starter or levain at 100% hydration.
Notes
Flour: I use All-Purpose Einkorn flour in my sourdough starter. It is an excellent nutrient-rich and high-protein flour with great flavor, and I love using it. Of course, you can use any flour for your sourdough starter, but finding one high in protein will give you the best results.
Water: Warm water is best when making and refreshing your sourdough starter, especially since it will eventually be stored in the fridge. It helps it jump-start faster. You also want to ensure your water is filtered and clear of chlorine. Sometimes unfiltered water can give your bread an off taste. I like to use Evian bottled water for my starter.
Turning an existing starter into a Lievito Madre: Turning your higher hydration starter into a Lievito Madre is possible in under a week. You can follow my guide here to get started.
Need Help? I know the process of making a starter can feel intimidating, but I am always here to answer questions.
Recipe: My sourdough starter recipe has been adapted from Jovial's method.

Nutrition Facts
Calcium
33.88 mgIron
0.54 mgManganese
0.36 mgVitamin B3
0.73 mg

Explore Trending Recipes

Indulge in a delicious and easy-to-make viral custard soufflé pots recipe that's perfect for any occasion. Customize with your favorite toppings!